
Resin 3D printed bolts and threads: what actually works
Can you 3D print threads with resin? Yes — and in one test they beat tapping. The catch is brittleness, trapped resin, and cure shrink. Here's the playbook.
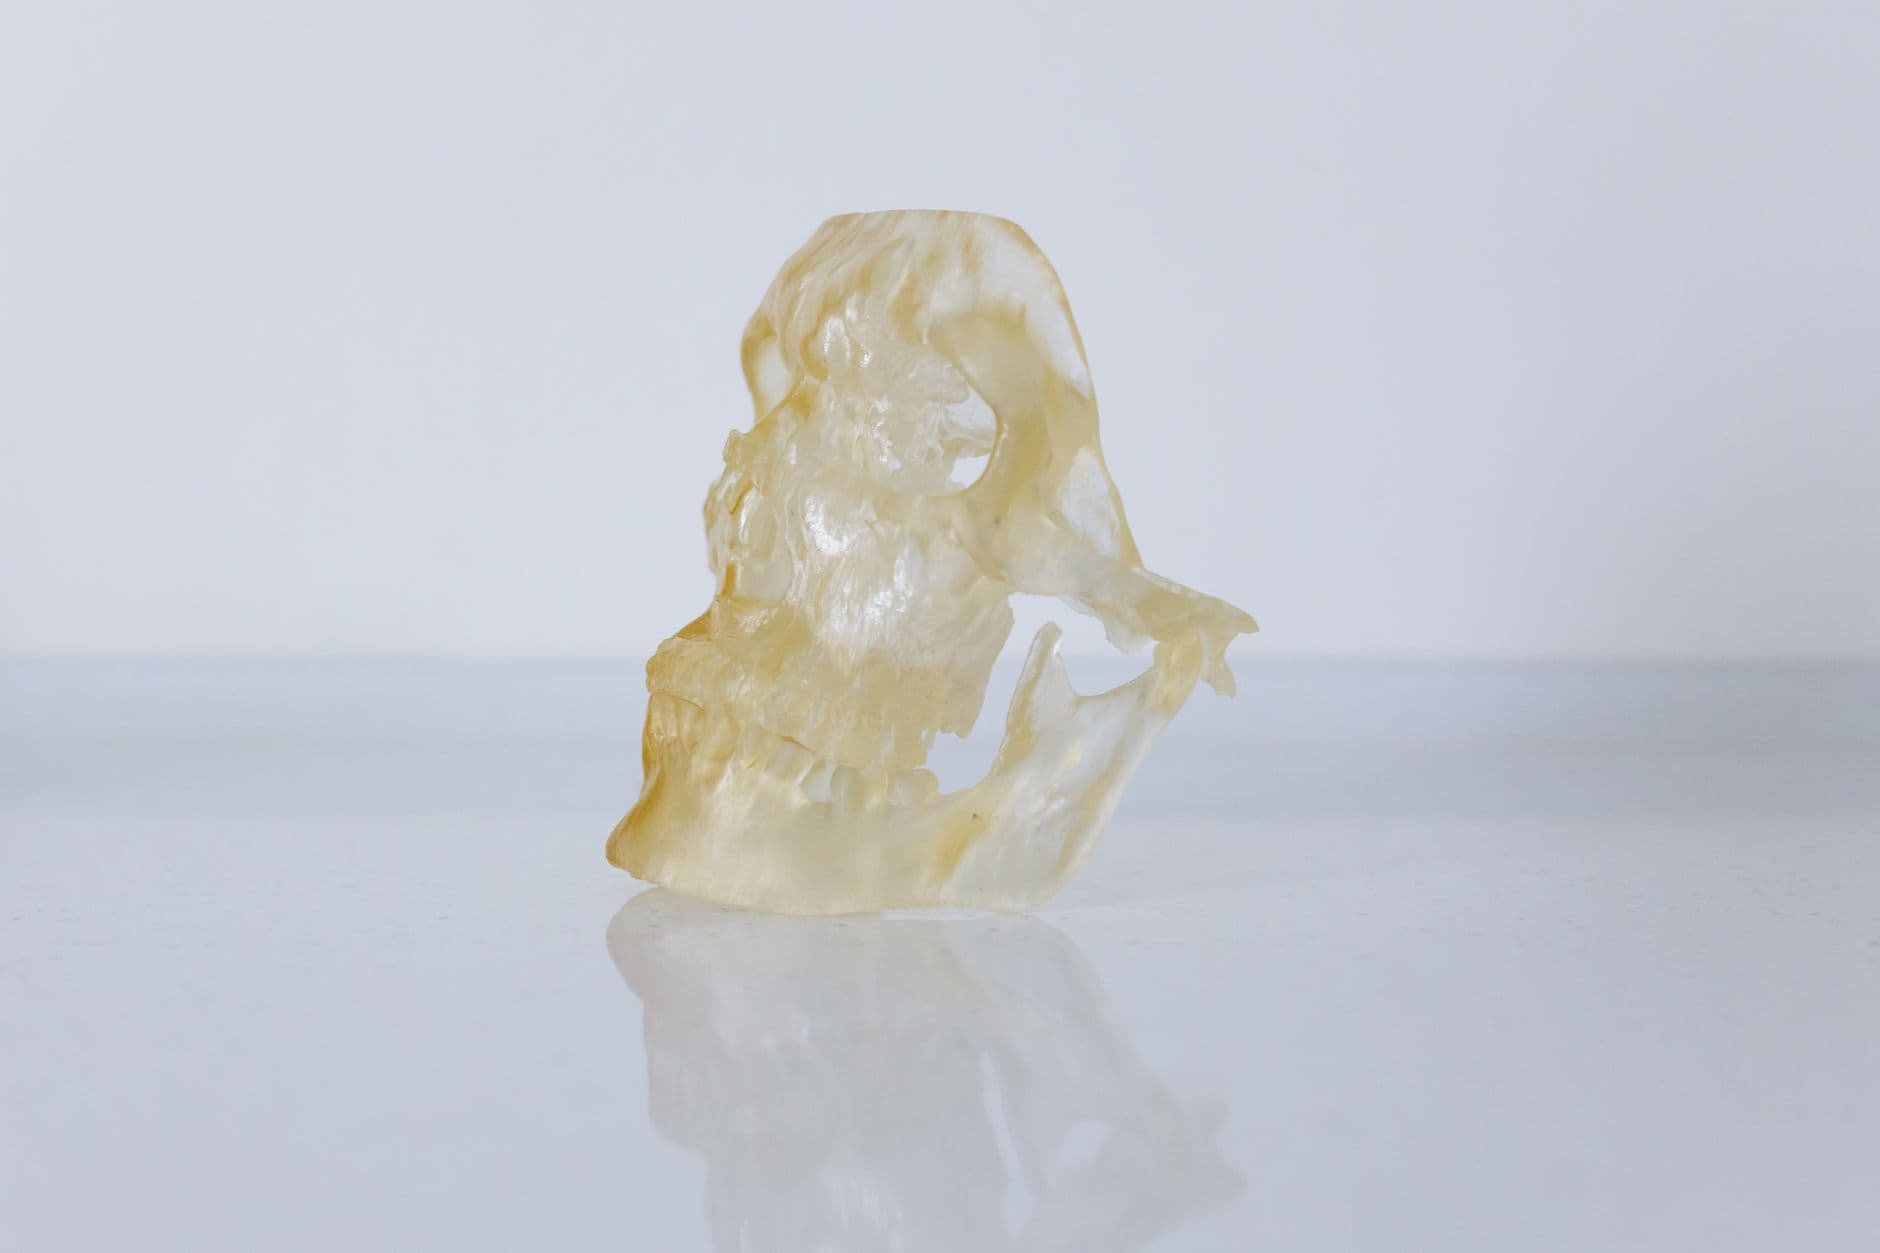
Your first resin print comes off the plate and you just stare at it.
The detail is stupid. Every edge is crisp. You can see texture you didn't know was in the model. And the very next thought every FDM person has is: oh, threads are gonna be easy now.
Kind of!
Resin 3D printed bolts and threads absolutely work — in one real-world pull test, printed M3 threads in resin beat tapped holes and CA-glued brass inserts. But the things that go wrong aren't the things you'd expect. Resolution isn't your problem anymore. Brittleness, trapped resin, and cure shrink are.
Here's what actually works.
The detail is real (mostly)
Quick reality check on how much finer resin is.
An Elegoo Saturn 4 Ultra 16K has pixels that are 14 × 19 microns. A typical FDM nozzle is 0.4 mm wide. That's roughly 28 times narrower, per pixel, than the bead of plastic your FDM printer lays down.
But — and this matters for threads — a pixel isn't the smallest thing you can print. Light bleeds a little, resin cures a little past the edge, and the smallest feature that actually survives is bigger than one pixel. Formlabs measured this on one of their laser printers and found the smallest real feature was about 150 microns, right around the size of the laser spot. So: way better than FDM. Not magic.
How small can a resin thread go?
This is where the advice gets messy, so let me just lay it out.
- Formlabs says to stick to M6 or 1/4"-20 and up for modeled threads, and for smaller ones use a rounded thread profile with a 0.1 mm offset. (their threads guide)
- JLC3DP, a big print service, also calls M6 the minimum.
- CNC Kitchen printed working M3 threads on a Prusa SL1S with an offset of around 0.05 mm, and then pull-tested them.
- For comparison, a common FDM guideline is to avoid printed threads below M5 at all.
So who's right? Kind of all of them. M6 is the "this will work the first time, on any printer, with any resin" floor. M3 works if you're willing to print a test and tune the offset.
My rule: anything that gets screwed and unscrewed a lot, or that someone else has to assemble, goes M6 or bigger. Small threads are fine for prototypes and one-time assembly.
Clearance: start tighter than FDM
On FDM you're designing in something like 0.2 mm of gap so threads don't fuse. Resin is waaayyy more accurate, so you start tighter:
- 0.05–0.1 mm offset on the thread itself (CNC Kitchen and Formlabs, respectively).
- 0.1 mm for a snug push fit, 0.2 mm for parts that assemble, 0.5 mm for parts that need to move — that's from Hubs' SLA design guide.
Print one test bolt and nut at 0.1, see how it spins, adjust once. Then write the number down, because you will forget it.
The resin matters more than the printer
This is the part people skip, and it's the reason threads crack.
Standard resin is stiff and kind of glassy. Thread crests are tiny little ridges. Stiff + tiny ridge = snap. The number to look at isn't strength, it's elongation — how far it stretches before it breaks.
Here's what that looks like on real datasheets:
| Resin | Tensile strength | Elongation | |---|---|---| | Formlabs Grey (standard) | 62 MPa | 13% | | Formlabs Rigid 10K | 88 MPa | 0.7% | | Formlabs Tough 2000 | 40 MPa | 79% | | Formlabs Durable | 28 MPa | 55% | | Siraya Tech Blu | 50 MPa | 32% |
See Rigid 10K? Strongest on paper, and it stretches less than one percent. Formlabs themselves say not to use self-tapping screws in low-elongation resins like that one. Siraya markets Blu as something that "can be tapped without cracking," and Durable claims friction close to Delrin, which is lovely for a thread that turns a lot.
Now here's the plot twist.
In CNC Kitchen's M3 test, the printed threads in a plain Elegoo translucent resin held 121 kg before pulling out. The same threads in Prusa's Tough resin held 106 kg. The tough one lost. His explanation: that resin is sensitive to notches — and a thread is basically a long spiral notch.
So "tough" on the bottle doesn't automatically mean "good at threads." Hell of a plot twist. Test it.
Printed vs tapped vs inserts (real numbers)
Same CNC Kitchen test, M3 pull-out force:
| Method | Prusa Tough | Elegoo Translucent | |---|---|---| | Printed threads | 106 kg | 121 kg | | Tapped hole | 55 kg | 104 kg | | Screw driven straight in | 44 kg | 98 kg | | Insert glued in with CA | 52 kg | 56 kg | | Insert in epoxy, stepped hole | 59 kg | 100+ kg |
Printed threads won in both.
But strength isn't the only thing. Plastic threads wear every time you crank a screw in and out. For anything you'll take apart over and over, he still recommends a brass insert glued in with CA. Strong enough, and the brass doesn't wear.
Put the soldering iron down
If you've done heat-set inserts in FDM prints, your instinct is going to be to grab the iron.
Don't.
FDM plastic melts and flows around the insert. Cured resin is a thermoset — it doesn't melt. CNC Kitchen's description of what happens instead is my favorite sentence in this whole topic: it "will spontaneously disintegrate and crumble away."
So instead:
- Glue the insert in. CA or epoxy, with a stepped hole so the glue has somewhere to go.
- Screw-to-expand inserts, cured in place. Formlabs' trick: wash the part, fit the insert, thread a screw in, then post-cure with the screw still installed so the part sets up around it.
- A captive nut pocket. Old reliable.
- Thread-forming screws into the tougher resins (Tough, Durable) — not the brittle ones.
Wash it, drain it, cure it, chase it
Three resin-only problems that'll wreck a thread that printed perfectly:
1. Trapped resin. Blind threaded holes hold liquid resin like a straw holds soda. Surface tension keeps the alcohol from getting in to wash it out. Then you cure the part and that resin hardens inside your threads. Good luck getting a damn screw in there. Fixes: make it a through-hole if you can, flush it with a syringe, or poke the resin out with an allen key before washing. Thick resins are worse.
2. Cure shrink. Post-curing makes the resin a little denser, which means a little smaller. Formlabs' own software compensates for it automatically. On other printers, that's on you — which is one more reason to print a test pair first.
3. Chase it after curing. A trick from the Formlabs user forum: tap the hole before post-cure while the resin is a little softer, then run the tap through once more after curing to clean up whatever moved. Use some cutting fluid — resin gums up a tap.
And don't overcure trying to make it "stronger." Overcuring makes parts more brittle.
Keep it out of the sun
Resin parts left in sunlight get more brittle and change color, because sunlight has the same kind of light that cured them in the first place. Formlabs says functional parts shouldn't live in direct UV. Your threaded garden hose adapter? Print that one on the FDM machine.
(One safety line, since it's resin: nitrile gloves, and a room with real airflow. Every time.)
The playbook
- M6 and up for anything important. M3–M5 if you test.
- Offset 0.05–0.1 mm, then tune.
- Pick resin by elongation, not strength.
- No heat-set inserts. Glue or cure-in-place instead.
- Through-holes, syringe flush, chase the tap after curing.
Generating the threads is the easy part. Our bolt generator, the Nasty Bastard, has a printed-fit mode with a clearance you dial in yourself — set it tighter for resin than you would for FDM, export the STL, and spend your energy on the resin stuff above instead of on helix math. If you've never printed threads at all, start with the FDM version.
So what's the first thing you'd print in resin that you couldn't print on FDM?
Frequently asked questions
- Can you 3D print threads with resin?
- Yes. Resin threads can be very strong — in CNC Kitchen's M3 pull test, printed resin threads beat tapped holes and CA-glued brass inserts. Formlabs recommends M6 or 1/4-20 and larger for reliable modeled threads; M3 can work with a tuned 0.05–0.1 mm offset.
- What clearance should resin printed threads have?
- Much tighter than FDM. Start around a 0.05–0.1 mm offset on the thread. For general resin fits, Hubs suggests 0.1 mm for snug fits, 0.2 mm for assemblies, and 0.5 mm for moving parts. Print one test pair and adjust.
- Can you use heat-set inserts in resin prints?
- No. Cured resin is a thermoset — it won't melt and flow around the insert, it crumbles. Glue the insert in with CA or epoxy, use a screw-to-expand insert cured in place, use a captive nut, or use thread-forming screws in a tough resin.
- What's the best resin for threads?
- Pick by elongation, not tensile strength. Low-elongation resins like Rigid 10K (0.7%) crack at the thread crests. Tougher resins like Formlabs Tough 2000, Durable, or Siraya Tech Blu stretch more and tap or self-thread more reliably — but test, because some tough resins are notch-sensitive.