
Heat-set inserts for 3D printing: hole sizes + how-to
Heat-set inserts in 3D printing, done right: hole sizes for M2–M6, iron temps by filament, the 90% press trick, and real strength numbers vs plain screws.
You've stripped a screw out of a print. Everybody has. It sucks.
It held great the first time. Second time, fine. Somewhere around the fifth time you took the lid off, the plastic threads turned to mush and now the screw just spins. Forever. Like it's mocking you.
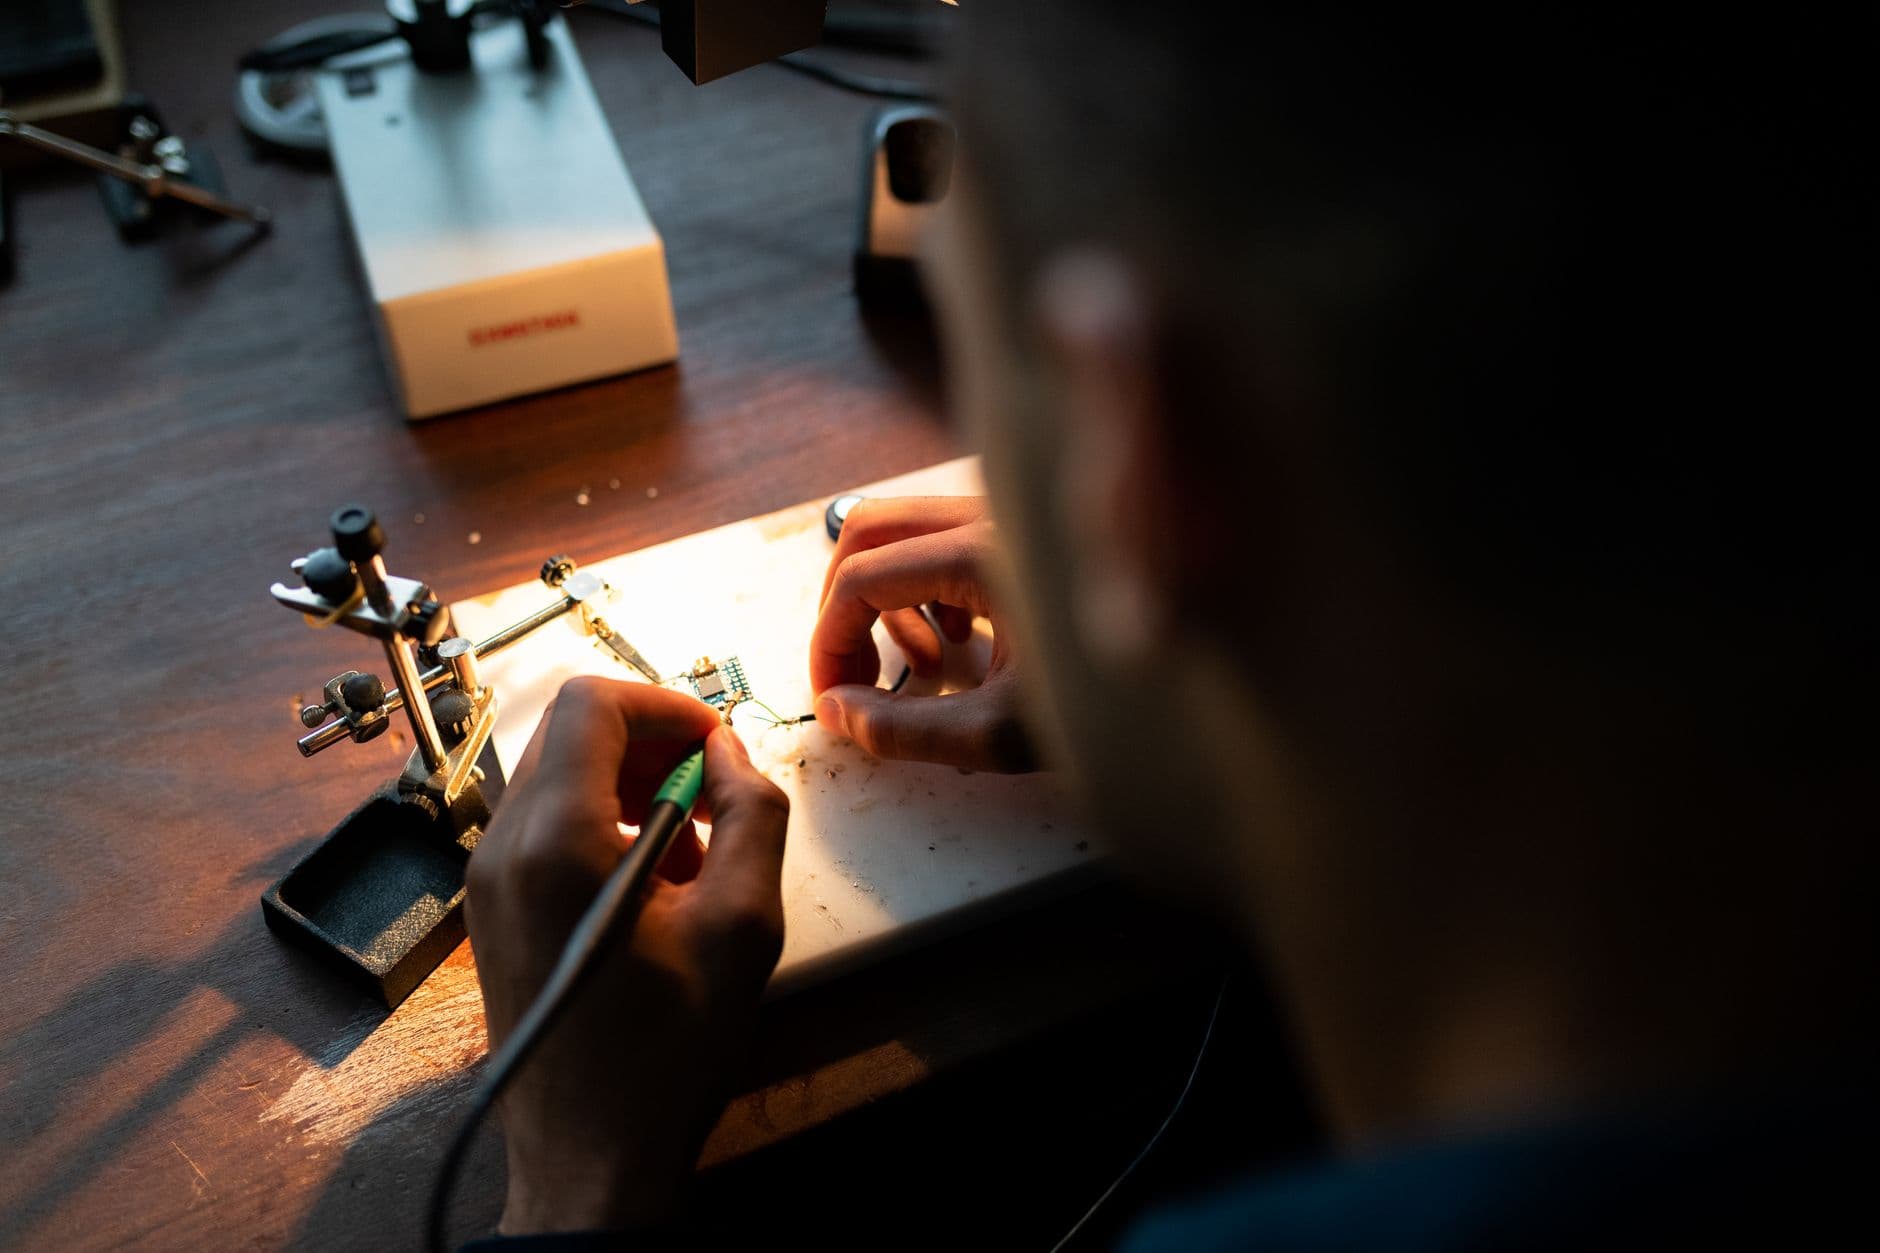
Heat-set inserts fix that. They're little knurled brass sleeves with real machine threads inside, and you melt them into a printed hole with a soldering iron. The plastic flows around the knurling, cools, and locks them in.
Short version, for M3: model a 4.0 mm hole (then check it — more on that below), make it about 1 mm deeper than the insert, set your iron 10–20°C above your print temp, push it in about 90% of the way, then press it flush with something flat.
That's the whole thing. Now the details that make it work every time.
Why bother? (it's not strength)
This surprised me.
CNC Kitchen — Stefan, who literally sells inserts — tested M3 fasteners in PETG. His numbers:
| Method | Pull-out | Torque before failure | |---|---|---| | Screw straight into plastic | 118 kg | 1 Nm | | Heat-set insert | 119 kg | 3 Nm | | Nut in a side slot | 86 kg | 2 Nm | | Nut in a bottom pocket | 166 kg | 2 Nm |
Look at pull-out. The insert and the plain screw are basically tied.
The win is everything else. Three times the torque before it lets go. And brass threads don't wear out when you open the thing fifty times. That's what you're buying: re-use and torque, not raw pull strength.
(Also — 1 Nm on an M3 already makes over 1,500 newtons of clamping force. So the plain screw isn't weak. It's just a one-and-done kind of guy.)
So here's my rule:
- Goes together once? Screw straight into the plastic. Done.
- Gets opened a lot, or needs real torque? Insert.
- Needs maximum pull-out? Captive nut in a bottom pocket.
Hole sizes for M2–M6
These are CNC Kitchen's numbers for their inserts. Different brands vary, so if you bought something else, check its datasheet first.
| Size | Insert length | Insert OD | Hole Ø | Min wall around it | |---|---|---|---|---| | M2 | 3.0 mm | 3.6 mm | 3.2 mm | 1.3 mm | | M2.5 | 4.0 mm | 4.6 mm | 4.0 mm | 1.6 mm | | M3 standard | 5.7 mm | 4.6 mm | 4.0 mm | 1.6 mm | | M3 short | 3.0 mm | 4.6 mm | 4.0 mm | 1.6 mm | | M4 | 8.1 mm | 6.3 mm | 5.6 mm | 2.1 mm | | M5 | 9.5 mm | 7.1 mm | 6.4 mm | 2.6 mm | | M6 | 12.7 mm | 8.7 mm | 8.0 mm | 3.3 mm |
Two things worth knowing:
- Short and standard inserts use the same hole diameter. Only the depth changes.
- M2.5 is weird. CNC Kitchen's M2.5 uses the same 4.0 mm hole as their M3, but plenty of other brands use a smaller one. Brand matters here.
The hole you draw isn't the hole you get
Here's the twist. In March 2026, CNC Kitchen tested his own datasheet and found printed holes came out about 0.25 mm smaller than the CAD.
Small holes print undersize. Always have. The slicer turns your circle into a polygon that sits inside the line, and the plastic shrinks a little as it cools.
His recommendation: add 0.2–0.3 mm in CAD. So for M3, model something like 4.2 mm.
But don't overshoot. At 4.2 mm, the inserts still held about 90% of the best result. At 4.6 mm they could "almost be pulled out by hand." Too tight is annoying. Too loose is useless.
Best move: print a little test bar with holes at 4.0, 4.1, 4.2, 4.3. Set inserts in all four. Keep the one that went in smooth and won't twist out. Write it down.
Depth, walls, and slicer settings
- Blind holes: about 1 mm deeper than the insert. The displaced plastic needs somewhere to go. Bottom out and you'll push a plug of plastic into the threads.
- Straight holes, not tapered. The inserts themselves are tapered — the hole doesn't need to be.
- Chamfers? CNC Kitchen says you normally don't need one. Some other guides chamfer the top edge to catch overflow. If you're getting a bulgy lip around the insert, a tiny chamfer helps. Otherwise, skip it.
- 4 perimeters around the hole. That's where the insert actually bites, and more walls means fewer sink marks.
- 25%+ infill under and around it, so there's something behind the walls.
What temperature?
Rule of thumb from CNC Kitchen: 10–20°C above what you printed at.
- PLA: ~225°C
- PETG: ~245°C
- ABS / ASA: ~265°C
Go hotter and the insert sinks like it's in butter and keeps going — crooked, too deep, plastic oozing up through the threads. Go colder and you're forcing it, and that's how prints crack.
(You'll see a guide out there saying 650–750°F. That one's written for Markforged's own nylon-based materials. Do not set your iron to 370°C for a PLA part. Your part will not survive, and your shop will smell like hell.)
How to actually set one
- Use the right tip. A purpose-made insert tip makes this sooo much easier. Avoid the pointy general-purpose tips — the brass shrinks as it cools and can grab a tapered tip.
- Let the iron fully heat up before you start.
- Set the insert on the hole, small end down.
- Press straight down, slowly. Let the heat do it. Takes about 10–15 seconds. Don't shove.
- Stop at about 90%. Pull the iron out.
- Flip the part onto something flat and heat-proof — a steel plate, a tile, the side of your vise — and press the insert flush. Hold for 6–10 seconds.
- Let it cool 15–30 seconds before you touch it.
That flat-press step is the trick that makes them sit perfectly flush and square every time. Don't skip it.
If you're doing a bunch, a jig is worth it. People mount their iron in a drill press, or print a little press stand for it — search "heat set insert press" on Printables and take your pick.
When it goes wrong
| Problem | Why | Fix | |---|---|---| | Plastic squeezed up into the threads | Hole too small or too shallow | Bigger hole, +1 mm depth | | Insert went in crooked | Iron wasn't vertical | Use the flat-press step, or a jig | | Insert spins or pulls out | Hole too big | Go back down 0.1 mm | | Bulge or sink mark around it | Thin walls, too much heat | More perimeters, cooler iron | | Need to remove one | — | Heat it ~20°C above print temp, thread a screw in, pull |
And one rule for removing: don't reuse an insert from a PLA part in a PETG part. Clean it up and keep it with its own plastic.
What to make with them
Once you've got inserts down, a whole category of projects opens up:
- Project boxes with screw-on lids you can open forever. Electronics enclosures especially.
- Camera and phone mounts — a 1/4"-20 insert gives you a real tripod thread.
- Jigs with replaceable parts. Fences, stops, and clamps that bolt on and swap out.
- Printer upgrades. Fan ducts, cable chains, and toolhead parts you'll take off again in a week.
Works in pretty much every thermoplastic you're printing — PLA, PETG, ABS, ASA, and more. Resin is a different story, because cured resin doesn't melt.
Get the screw side right too
An insert only solves half the joint. The part you're bolting on still needs the right clearance hole, and if it's a flat head, the right countersink.
The Nasty Bastard bolt and screw generator hands you the tap drill and clearance hole for any metric or imperial size, so the other half of the joint fits too. And once you find the hole size that works on your printer with your filament, park it in the Machine Setups Repository next to that filament's temps. Future you will be grateful.
What's the first thing you're going to stop stripping?
Frequently asked questions
- What size hole for an M3 heat-set insert?
- Most M3 inserts (CNC Kitchen, Ruthex) call for a 4.0 mm hole. Printed holes usually come out about 0.25 mm small, so CNC Kitchen recommends adding 0.2–0.3 mm in CAD — around 4.2 mm — then testing. Make blind holes about 1 mm deeper than the insert.
- What temperature should my soldering iron be for heat-set inserts?
- About 10–20°C above your print temperature: roughly 225°C for PLA, 245°C for PETG, and 265°C for ABS or ASA. Too hot and the insert sinks crooked and too deep; too cold and you risk cracking the part.
- Are heat-set inserts stronger than screwing into plastic?
- Not much in pull-out — in CNC Kitchen's PETG test they were nearly tied at about 118–119 kg. The real gains are torque (about 3 Nm vs 1 Nm before failure) and surviving repeated assembly without the threads wearing out.
- Can you use heat-set inserts in resin prints?
- No. Cured resin is a thermoset and doesn't melt, so the insert can't be heat-set. In resin parts, glue inserts in with CA or epoxy, or use printed or tapped threads instead.