
How a laser cut box generator actually works
What a laser cut box generator does under the hood, and how to drive one to a box that snaps together the first time.
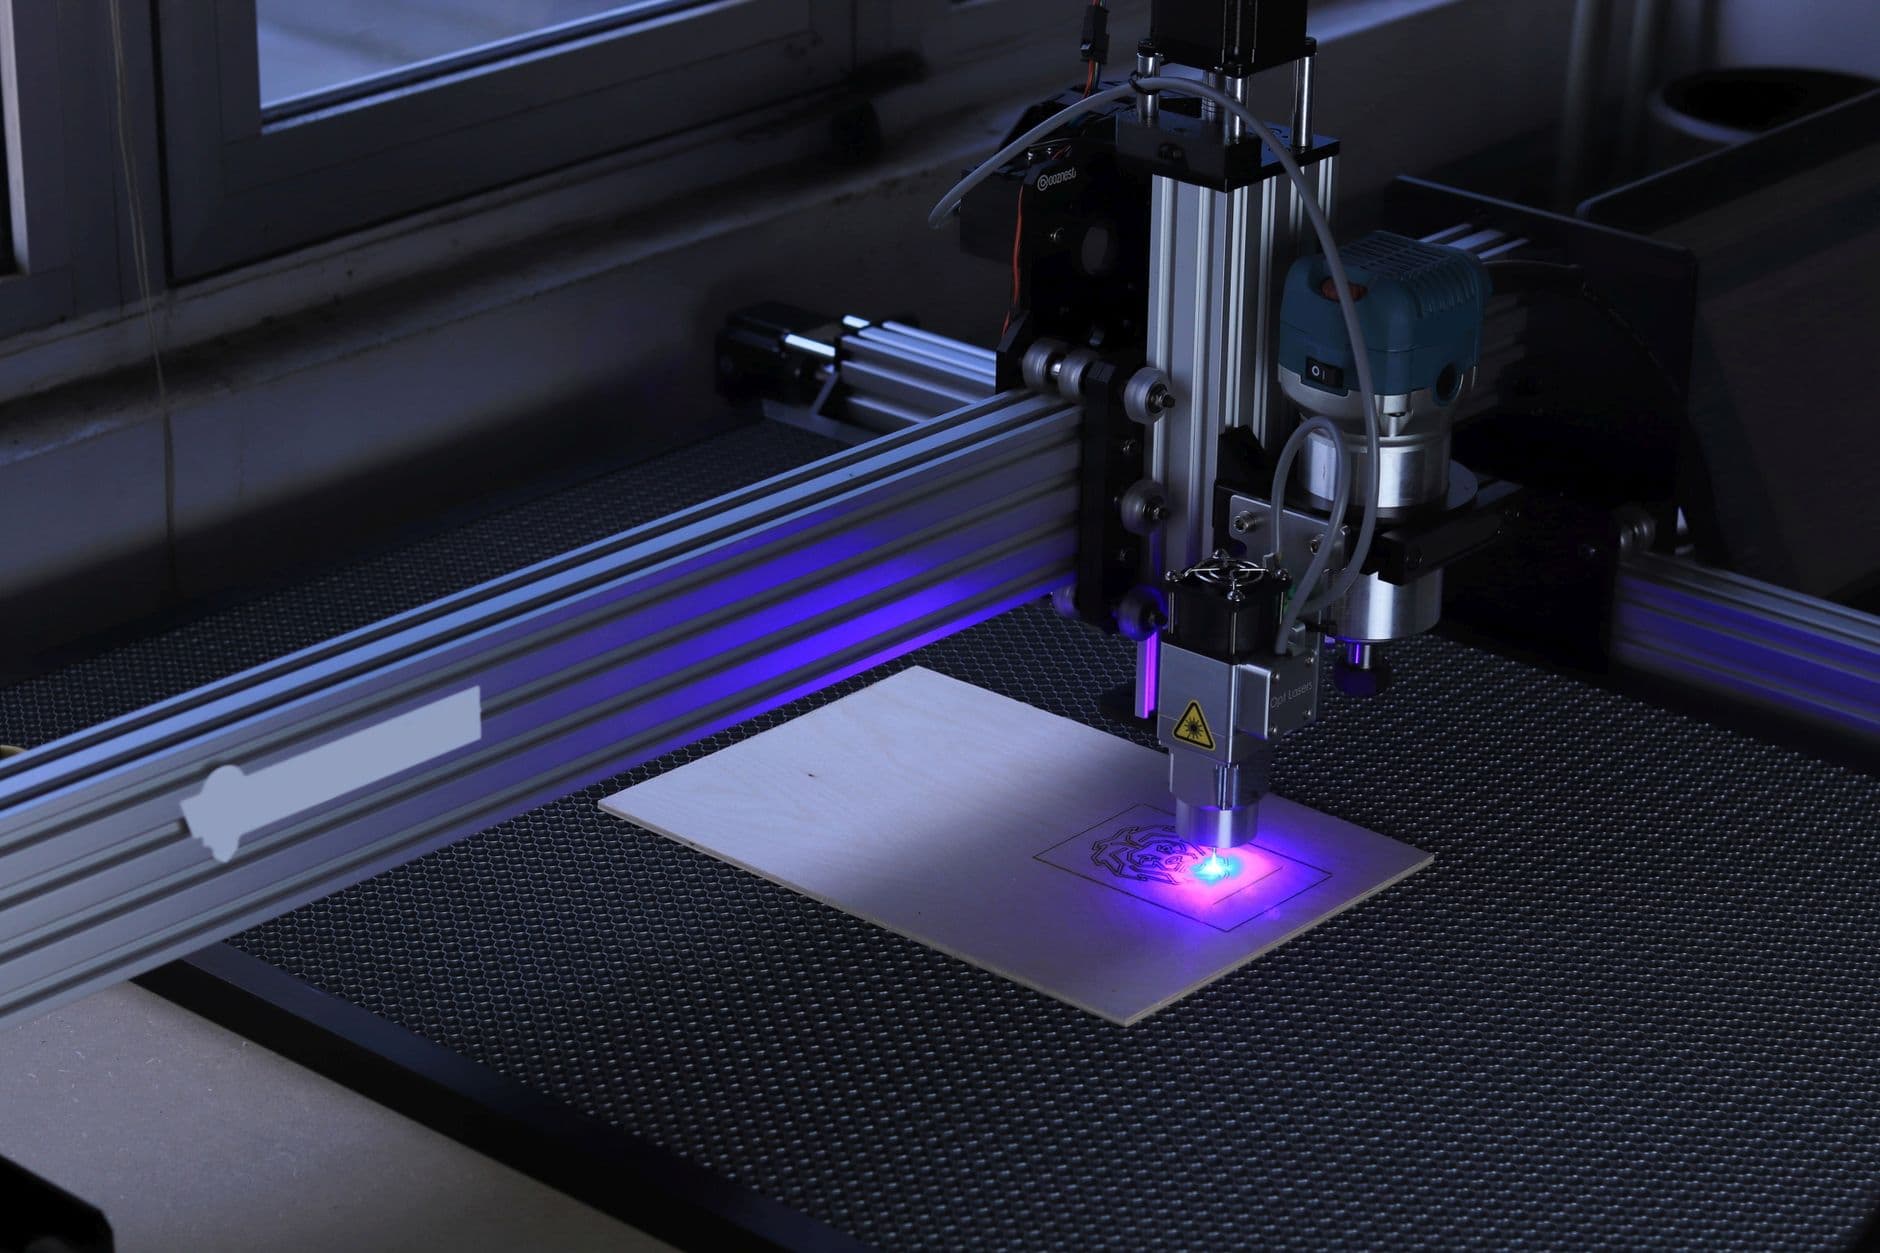
You want a box. Six flat panels, cut once, tapped together, done.
A laser cut box generator gets you there without opening CAD. You type in a few numbers, it hands back a flat pattern, you send that to the machine. That's the whole promise. Here's what's actually happening between those two steps — and how to drive it so the box fits.
What the generator is doing for you
At its core, a laser cut box generator is a bit of parametric geometry. You give it the box size and your material thickness; it draws the six faces flat and stitches the edges together with interlocking tabs — finger joints, the little square teeth that make a box self-jigging.
The clever part is the joint math. Every tab on one panel has to line up with a slot on its neighbor, and the depth of those tabs has to equal your material thickness exactly. Get that relationship right and the panels register themselves — the box can't go together crooked. That's why generated boxes assemble so fast: the geometry holds the corner square for you.
Most tools output an SVG or DXF flat pattern. That's just vector lines: cut paths the laser follows. No thickness, no 3D — the machine only cares about where to burn.
The three numbers that decide everything
Skip everything else and get these right.
- Dimensions. Width, depth, height. Decide up front whether you're specifying the inside or outside of the box — a good generator asks. If you're building an enclosure around a thing, use inside dimensions and give yourself a millimetre of breathing room.
- Material thickness. This is the one people fumble. "3mm" plywood is almost never 3.0mm. Put calipers on the actual sheet and type in what you measure — 2.8, 3.1, whatever it reads. The joint depth is cut to this number.
- Kerf. The laser removes a hair of material as it cuts. It's a real factor, but don't lose sleep over it — start at your generator's default and only adjust if a test corner comes out loose or tight.
Rule of thumb: measure the sheet, not the label. The label lies; your calipers don't.
From flat pattern to finished box
The workflow is short:
- Enter your numbers, generate the pattern, download the SVG or DXF.
- Drop it into your laser software (LightBurn, Illustrator, whatever runs your machine) and set cut settings for your material.
- Cut one corner first if you're on new stock — a two-tab test tells you whether the fit is right before you commit a full sheet.
- Cut the full pattern, pop the pieces out, and assemble. Glue is optional; a good finger-joint fit holds on friction alone.
That test-corner habit is the difference between "cut once" and "cut, swear, cut again." It costs you thirty seconds of laser time and saves you a sheet.
When you outgrow the free tools
The browser generators — MakerCase, boxes.py — are genuinely good for a plain box. You'll want more the day you need a lid that actually stays on, dividers sized to your parts, or a box you'll build again next month in a different size and don't want to re-derive.
That's the gap the Bad Ass Box Maker fills: same instant flat pattern, but it remembers your material, sizes dividers to fit, and lets you save a box so version two is one click, not a re-entry. If you're brand new to this, the first-try box walkthrough is the place to start.
So — what are you putting in the box? Size it around that, measure your sheet, and cut the corner first. The generator handles the rest.
Frequently asked questions
- How does a laser cut box generator work?
- It's parametric geometry. You give it the box size and your material thickness; it draws the six faces flat and stitches the edges together with interlocking finger joints, then exports an SVG or DXF flat pattern the laser follows.
- What is the most important setting in a box generator?
- Material thickness. 3mm plywood is almost never actually 3.0mm, and the joint depth is cut to whatever number you type — so put calipers on the real sheet and enter what you measure.
- Should I use inside or outside dimensions?
- Decide up front. If you're building an enclosure around something, use inside dimensions and add about a millimetre of clearance. If the box has to fit a space, work from outside dimensions.
- How do I avoid wasting a sheet?
- Cut one corner first on new stock. A two-tab test tells you whether the fit is right before you commit the full pattern — thirty seconds of laser time that saves a whole board.