
How to design a 3D printed box that closes right
A 3D printed box lives or dies on the lid fit. Here's how to design one, set the tolerance, and print it so it snaps shut instead of jamming.
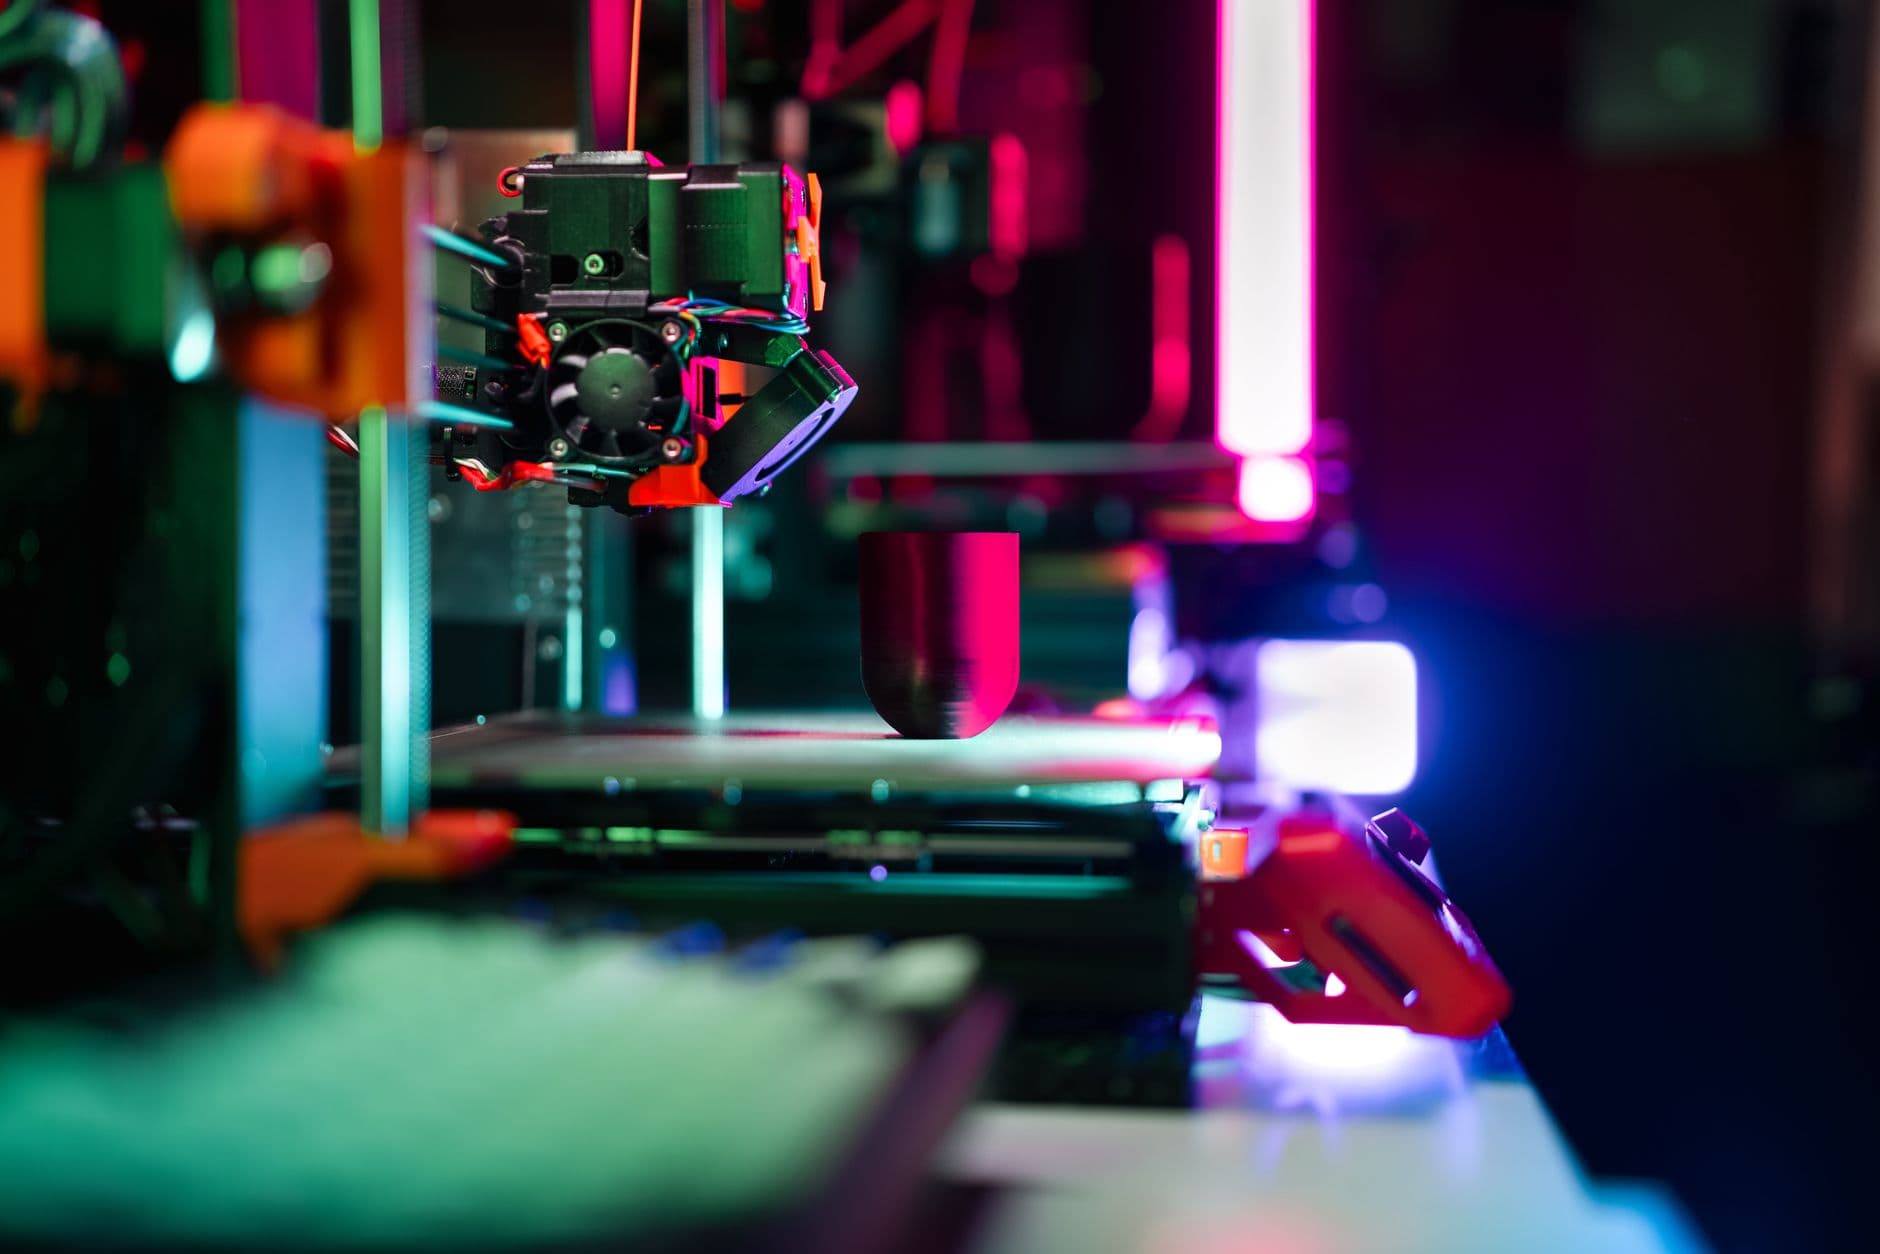
Anyone can print a 3D printed box. The trick is printing one whose lid actually closes — snug, not sloppy, not stuck.
That's the whole game with printed enclosures. The walls are easy. The fit between parts is where it goes right or wrong, and it comes down to one setting almost nobody tunes on the first try. Let's get you a box that shuts on the first print.
Start with the inside, then add walls
Design a box from the thing it holds, outward.
- Measure your contents. Add clearance — 0.5mm all round for a loose fit, less if it's meant to be snug.
- That's your inside dimension. Add your wall thickness (2mm is a sane default, or 3–4 perimeters) to get the outside.
- Height works the same way: contents plus a little headroom plus a floor.
Model it, or use a parametric box so you can change one number later without rebuilding. Either way, the inside dimension drives everything — get that from real measurements, in millimetres, and the rest follows.
The lid: where fit is won or lost
Two honest options for a lid.
A friction-fit lip. The lid has a downward lip that slides inside the box walls. Simple, no hardware, reprintable. The lip needs clearance or it won't seat — this is the tolerance that matters.
A print-in-place hinge and clasp. Fancier, one-piece, satisfying — but it demands your tolerances already be dialed. Earn it on a friction lid first.
Either way, the number to tune is the gap between the lid and the box.
Tolerance is the whole ballgame
Here's the setting nobody adjusts and everybody should: the clearance between mating parts.
- Too tight (0.0–0.1mm): the lid won't go on, or cracks the wall forcing it.
- Too loose (0.4mm+): it rattles and falls off.
- The sweet spot for most FDM printers is 0.2mm of designed gap per side. Start there.
Your printer isn't my printer, though. Print a small tolerance test — a peg-and-hole or a stepped lid with 0.15, 0.20, 0.25, 0.30mm gaps — once, and you'll know your machine's number forever. Prusa's guide to dimensional accuracy is a good primer on why printed parts drift from the model.
Print the tolerance test once. Write the number on the wall. Never guess a clearance again.
Print settings that help the fit
- Walls before infill. 3–4 perimeters make a box that feels solid and holds threads for inserts. Infill barely matters for an empty box; 15% is plenty.
- Orientation. Print the box open-side up. The lid flat, top-face down, for the cleanest sealing surface.
- First layer. A squashed first layer adds elephant's foot that eats your clearance at the base. Dial your first layer in — it's the other half of tolerance.
When a box wants to be cut, not printed
3D printing is unbeatable for organic shapes, snap features, and one-piece hinges. But for a big, flat-sided box, a laser cut panel box is faster, stronger, and cheaper in material — the plastic and print time add up fast on volume.
If your box is really just six flat walls, consider cutting it instead: the Bad Ass Box Maker hands you a flat pattern in a minute. And wherever you build it, work in millimetres end to end — mixed units is how a lid ends up 0.4mm off.
So: measure the contents, design 0.2mm of clearance, print the tolerance test once. What's going in the box — and does it want plastic or plywood?
Frequently asked questions
- How much tolerance should a 3D printed box lid have?
- Start at 0.2mm of designed gap per side for most FDM printers. Too tight (0 to 0.1mm) and the lid won't seat; too loose (0.4mm and up) and it rattles off. Print a tolerance test once to find your machine's exact number.
- Why won't my 3D printed lid close?
- Usually clearance or elephant's foot. A squashed first layer bulges the base and eats your gap — dial in your first layer, and design 0.2mm of clearance between the mating parts.
- What wall thickness should a 3D printed box have?
- About 2mm, or 3 to 4 perimeters. Walls matter far more than infill for an empty box; 15% infill is plenty. Print the box open-side up and the lid top-face down for the cleanest sealing surface.
- Should I 3D print or laser cut a box?
- Print it for organic shapes, snap features, and one-piece hinges. For a big flat-sided box — really just six flat walls — a laser-cut panel box is faster, stronger, and cheaper in material.